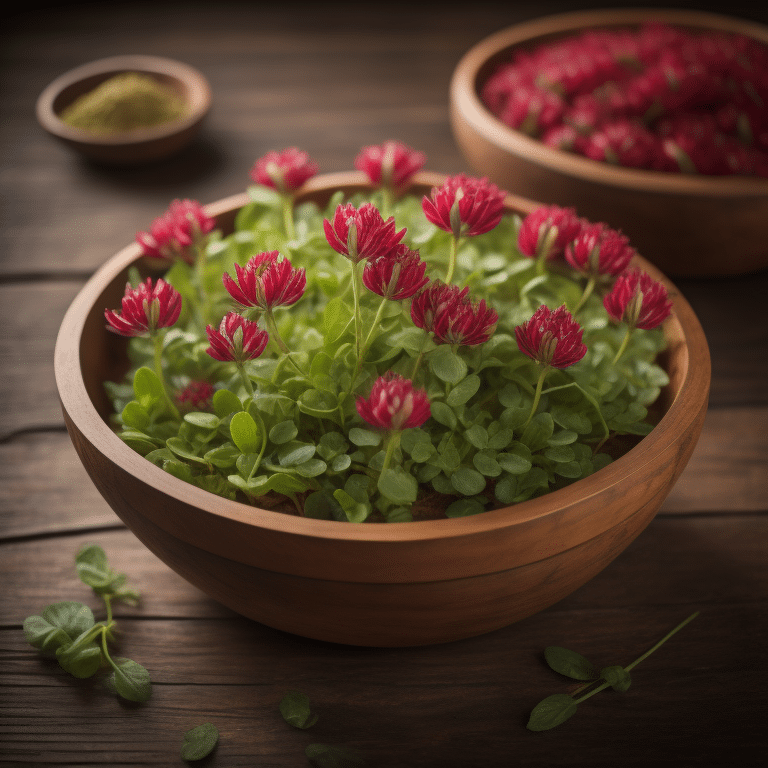
Welcome to the world of sprouting red clover! This blog will guide you on a journey to understand and master the art of sprouting this nutritious plant.
What is Red Clover?
Red clover, scientifically known as Trifolium pratense, is a perennial herbaceous plant that is native to Europe, Western Asia, and northwest Africa. It’s renowned for its health benefits and is commonly used in traditional medicine.
Why Sprout Red Clover? Health Benefits and Nutritional Value
Red clover unlocks a wealth of nutritional benefits. The sprouts are packed with vitamins A, B, C, and K, along with minerals like calcium, iron, and magnesium. They are also a great source of protein and dietary fiber. Consuming red clover sprouts can boost your immune system, improve bone health, and aid digestion.
For more information on the health benefits of sprouted red clover, check out this detailed guide.
Basic Requirements for Sprouting Red Clover
Sprouting red clover at home is a simple and rewarding process. Here’s what you’ll need:
- Red clover seeds: Ensure that you choose high-quality, organic seeds for sprouting.
- A sprouting jar or container: This should be clean and have good drainage.
- Fresh water: This is for soaking and rinsing the seeds.
- A warm, well-lit location: Red clover sprouts best at room temperature and needs indirect sunlight.
Step-by-Step Guide to Sprouting Red Clover
Sprouting red clover is a straightforward process that requires minimal equipment and effort. Let’s walk through the steps:
- Choosing and Buying Red Clover Seeds: Start by purchasing high-quality, organic red clover seeds. You can find them at reputable online stores like Mountain Rose Herbs.
- Preparing the Seeds for Sprouting: Rinse your seeds under cool, clean water. Next, soak them in a jar of water for 6-8 hours or overnight.
- The Sprouting Process: After soaking, drain the water from the jar. Rinse the seeds again and then drain. Repeat this rinsing and draining process 2-3 times a day. Ensure the jar is tilted at an angle to allow excess water to drain out and air to circulate.
- Harvesting and Storing Red Clover Sprouts: Once the sprouts reach your desired length, usually in 4-5 days, they are ready to harvest. Rinse them one last time, drain, and let them dry. Store your sprouts in the refrigerator, where they can last for up to a week.
Common Problems and Solutions
Sprouting red clover is generally easy, but you might encounter a few challenges. Here are some common problems and their solutions:
- Mold: If you notice mold on your sprouts, it’s likely due to insufficient rinsing or poor air circulation. Make sure to rinse your sprouts thoroughly and drain them well. Also, keep your sprouting jar in a well-ventilated area.
- Slow Sprouting: If your seeds are taking longer than usual to sprout, they might be old or of poor quality. Always buy your seeds from a reliable source.
Tips and Tricks for Successful Sprouting
To ensure a successful sprouting process, keep these tips in mind:
- Always use fresh, high-quality seeds.
- Rinse your seeds thoroughly before and during the sprouting process.
- Ensure your sprouting jar or container has good drainage.
- Keep your sprouting jar in a location with indirect sunlight and good air circulation.
For more tips on sprouting red clover seeds, check out this additional guide.
FAQs
Here are some common questions people often ask about sprouting red clover:
- What are the health benefits of red clover? Red clover is rich in vitamins A, B, C, and K, as well as minerals like calcium, iron, and magnesium. It’s a great source of protein and dietary fiber, and can boost your immune system, improve bone health, and aid digestion.
- How do you sprout red clover? Sprouting red clover involves soaking the seeds, rinsing and draining them several times a day, and then allowing them to sprout over a few days.
- Can you eat red clover sprouts? Yes, red clover sprouts are edible and can be used in a variety of dishes, including salads, sandwiches, and wraps.
- Are clover sprouts safe to eat? Yes, clover sprouts are safe to eat as long as they are properly rinsed and stored. However, like all sprouts, they should be consumed within a week of sprouting for the best quality and safety.
Using Red Clover Sprouts in Your Diet: Recipe Ideas
Red clover sprouts are versatile and can be used in a variety of dishes. Here are a few ideas:
- Salads: Add a handful of red clover sprouts to your favorite salad for a nutritional boost.
- Sandwiches and Wraps: Use red clover sprouts as a filling in sandwiches and wraps for a crunchy texture.
- Smoothies: Blend red clover sprouts into your morning smoothie for an extra dose of nutrients.
Conclusion: The Value of Sprouting Your Own Red Clover
Sprouting your own red clover is a simple and rewarding process. Not only does it provide you with fresh, nutritious sprouts, but it also allows you to engage in a fun and educational activity. By sprouting your own red clover, you can ensure that you’re consuming high-quality, organic sprouts that are free from harmful chemicals and pesticides.
Thank you for joining us on this journey of sprouting red clover. We hope this guide has been helpful and inspires you to start sprouting your own red clover at home. Remember, the key to successful sprouting is using high-quality seeds, rinsing and draining properly, and providing the right conditions for your sprouts to grow. Happy sprouting!
That concludes our comprehensive guide on sprouting red clover. If you have any further questions or need more information, feel free to explore our microgreens blog or check out our subscription packages for regular deliveries of fresh, organic microgreens.


